How-to
Water softener upkeep, salt and salt bridges
Check the salt every two or three weeks and add more below a quarter full, use nugget or pellet salt, and break up a salt bridge with a broom handle.
Satisfy+ Editorial · Updated October 12, 2026 · 3 min read · 39 min to do · Under $100
At a glance
- Check the salt
- Every two or three weeks at first
- Add salt
- Whenever it's under a quarter full
- Salt to use
- Nugget, pellet or coarse solar salt
- Salt bridge
- Break it with a broom handle
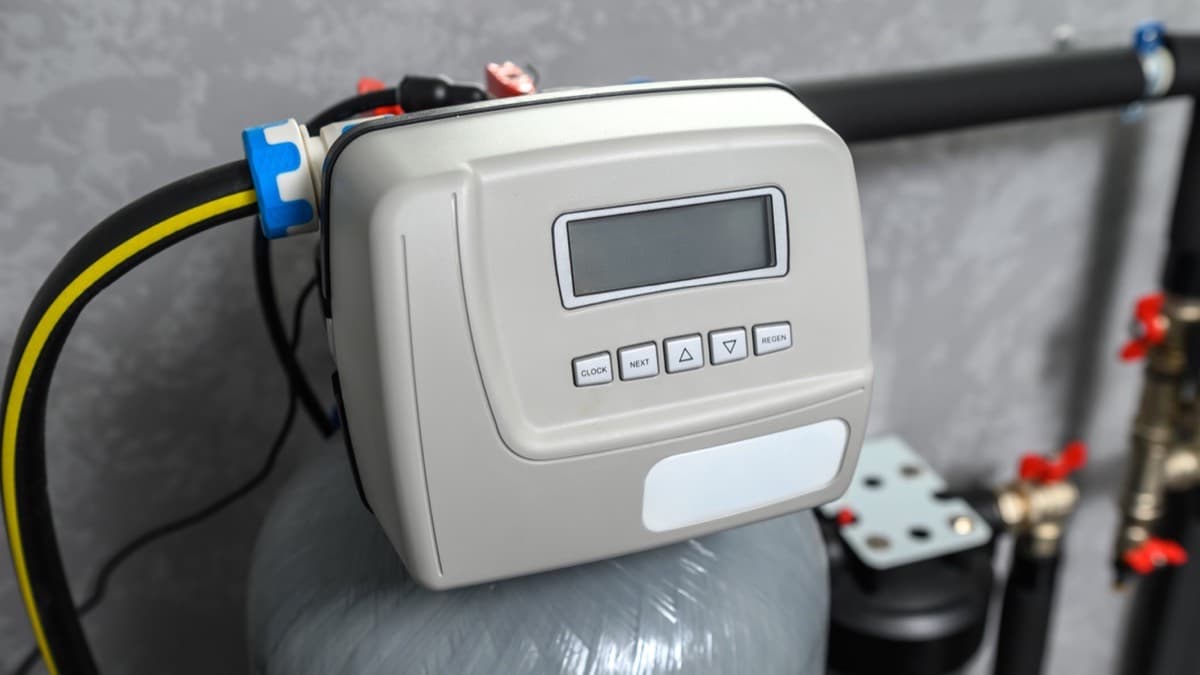
A water softener takes calcium and magnesium out of the water. To recharge, it dissolves salt into brine in the salt storage tank and runs the brine through the resin. If the salt runs out, or a hard crust stops it from dissolving, the house gets hard water again. Softeners differ, so the steps and settings in your own manual come first.
What you need
- The softener's manual
- Water-softening salt the manual calls for
- A broom handle or a similar long tool
- A bucket of warm water
- A small brush
Steps
- 1
Check the salt level
Lift the salt hole cover and look in. Until you know how fast the softener uses salt, check every two or three weeks.
2 min
- 2
Add salt when it's low
Add salt whenever the tank is less than a quarter full, and put the cover back. In humid areas, keep the level lower and refill more often, which helps prevent bridging.
5 min
- 3
Use the right salt
Use the salt the manual calls for, often nugget, pellet or coarse solar salt at least 99.5 percent pure. Rock salt, block, granulated table salt, ice-melting salt and ice cream salt can cause problems. With potassium chloride, some softeners have a lower fill line.
2 min
- 4
Check for a salt bridge
A bridge is a hard crust that leaves an empty space between the water and the salt, so no brine forms. The salt on top can look loose with the bridge underneath. Push a broom handle down into the salt, working it up and down. Salt should be loose all the way to the bottom.
5 min
- 5
Break a bridge
If the handle hits something hard that isn't the bottom or sides of the tank, carefully break it up. Don't pound on the tank walls. A gallon of warm, not hot, water helps dissolve it. If the wrong kind of salt caused the bridge, take it out and refill with nugget or pellet salt.
10 min
- 6
Clean the nozzle and venturi
This small part makes the suction that pulls brine into the resin tank. Sand or dirt can plug it, and then the softener stops softening. With the softener in its service cycle, remove the top cover and the cap, lift out the screen and the nozzle and venturi, and wash them in warm water with a small brush. Put everything back in order and tighten the cap by hand only.
15 min
Keep the water softener running
- Check the salt level in the water softener
- Clean the softener's resin bed if the water has iron
- Note the salt type the softener's manual calls for
Iron and the resin bed
A softener can handle some "clear water" iron. That's water that comes out of the tap clear and turns cloudy or rust-colored after 15 to 30 minutes. Iron that makes the water cloudy or rusty as it leaves the faucet is more than a softener can handle. Where the water has iron, the resin bed can be cleaned at least every six months with a resin bed cleaner. Mix it with water, pour it into the brinewell and recharge the softener right away. Don't pour the cleaner in with the salt. Salt with iron-removing additives can give off corrosive fumes that shorten the life of some softener parts.
FAQ
How often should I add salt to my water softener?
Check it every two or three weeks until you know how fast it's used, and add salt whenever the tank is less than a quarter full.
How do I know if my water softener has a salt bridge?
Push a broom handle down through the salt. If it hits something hard before the bottom or sides of the tank, that's likely a bridge.
What salt should I use in a water softener?
Nugget, pellet or coarse solar salt at least 99.5 percent pure. Rock, block, table and ice-melting salts can cause problems.
Sources
Checked October 20, 2026
- GE Appliances. Water softener owner's manual and installation instructions (GXSH40V, GXSH45V) (2026)
- Owner
- Plumbing
- Under $100
- Beginner
- DIY