How-to
Running a portable generator without the carbon monoxide
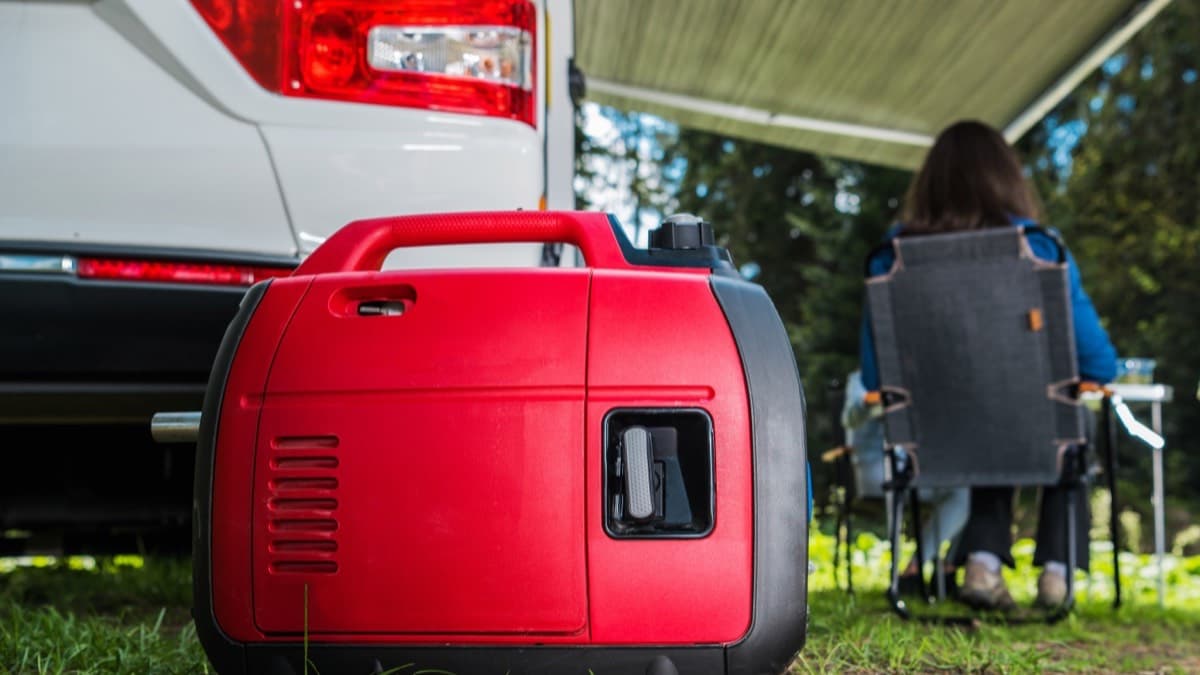
Set up a portable generator outdoors and away from the house, run cords to the appliances, and refuel it only once it has cooled.
Satisfy+ Editorial · Published August 21, 2026 · 3 min read · 30 min to do · Under $100
This work can injure you or damage your home. Hire a licensed professional for any step marked for one, and check with your city or county building department about permits.
At a glance
- Where
- Outdoors only, at least 20 feet from doors, windows and vents
- Exhaust
- Pointed away from the house
- Cords
- Heavy-duty, outdoor-rated, three-prong
- Refueling
- Engine off and cooled down
A portable generator keeps the refrigerator and the lights going through an outage, and its exhaust carries carbon monoxide. Of the more than 200 accidental carbon monoxide deaths not caused by fire in the United States each year, more than 100 are linked to portable generators. Most reported generator incidents involve carbon monoxide from a unit run indoors or in a partly enclosed space. The other hazards are shock, fire and burns.
What you need
- The generator's manual
- Heavy-duty extension cords made for outdoor use, long enough to reach from 20 feet away
- Working carbon monoxide alarms in the house
- Fuel in labeled, non-glass safety containers
Before you start
Steps
- 1
Check the CO alarms
The house needs working carbon monoxide alarms whenever a portable generator runs. Test each one.
5 min
- 2
Pick the spot
Set it outdoors in a well-ventilated area, at least 20 feet from all doors, windows and vent openings, measured from the generator to the building. An attached garage is never a safe spot, even with the door open.
5 min
- 3
Point the exhaust away
Place it so the fumes can't come in through windows, doors or other openings, with the exhaust directed away from the building. Don't stand or sit downwind of it.
2 min
- 4
Keep it dry
A generator can shock or electrocute, especially in wet weather. Run it on a dry surface under an open, canopy-like cover where water can't reach or pool under it, and dry your hands before touching it.
5 min
- 5
Run the cords to the appliances
Plug each appliance into the generator with a heavy-duty outdoor extension cord rated for more than the total wattage on it. Check each cord for cuts and a full set of three prongs, and keep it from being pinched in a door or window.
10 min
- 6
Refuel only when it's cool
Turn it off and let it cool before refueling, because gasoline spilled on hot engine parts could ignite. Store fuel outside living areas, and away from fuel-burning appliances such as a gas water heater in the garage.
5 min
- 7
Check the setup once it's running
Walk around it and check that it sits well out from the house, the exhaust faces away and each cord is intact. The carbon monoxide alarms inside should stay quiet.
2 min
Get ready to run the generator safely
- Pick a spot 20 feet from the house for the generator
- Check you have heavy-duty outdoor extension cords
- Test the carbon monoxide alarms before an outage
Never plug it into the house
Never power the house wiring by plugging a generator into a wall outlet, which is called backfeeding. It is an electrocution risk to utility workers and neighbors on the same transformer, and it bypasses some of the house's circuit protection.
If something goes wrong
FAQ
How far from the house should a portable generator be?
At least 20 feet from all doors, windows and vents, measured from the generator to the building.
Can I run a generator in the garage with the door open?
No. A generator never runs in a garage, even with the door open.
Sources
Checked October 19, 2026
- U.S. Consumer Product Safety Commission. CPSC safety alert: portable generator hazards (2021)
- National Fire Protection Association. NFPA educational messages: desk reference for the fire service and fire and life safety educators, 2026 edition (2026)
- U.S. Consumer Product Safety Commission. Carbon monoxide information center (2026)
- Power outage
- Carbon monoxide
- Hurricane
- Owner
- Winter storm
- Under $100
- DIY